
How to start canning: learn the method before filling the jars
A safety-first orientation to tested recipes, equipment, altitude, and the difference between water-bath and pressure canning.
An orientation—not a processing recipe
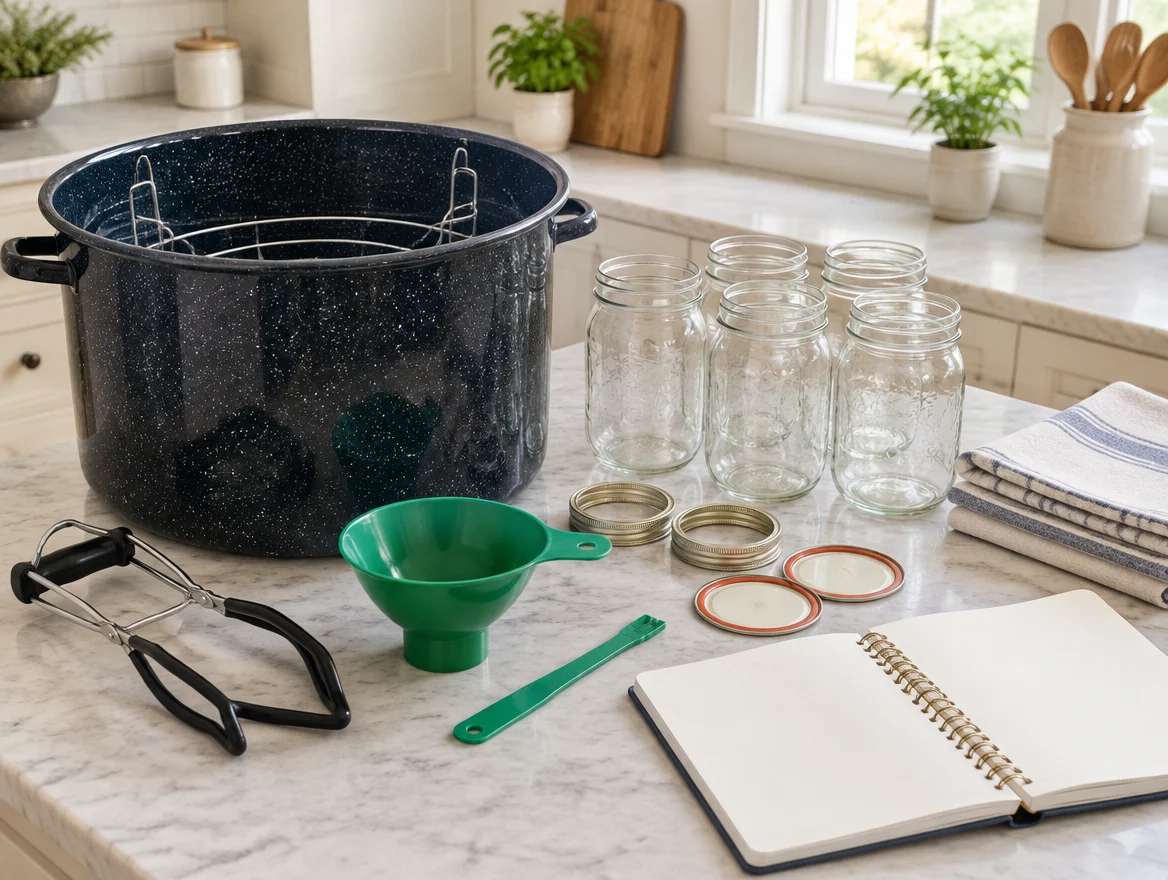
A current tested USDA/NCHFP or Extension recipe, the correct canner, suitable canning jars and lids, a jar lifter, a rack, and the manufacturer’s instructions.
Choose a current tested process
Begin with a specific recipe from USDA, the National Center for Home Food Preservation, or your Extension service. Read the entire process. Record the food, jar size, pack method, headspace, altitude, and required time or pressure. This overview is not enough to process a jar safely.
Match the food to the method
High-acid foods and properly acidified foods may use a boiling-water process when the tested recipe says so. Low-acid vegetables, meats, and similar foods require a pressure-canning process. A small pressure cooker or ordinary electric multicooker is not automatically a substitute for a canner.
Check equipment and your location
Confirm your stove supports the canner and that the rack, jars, lids, and lifter are suitable. Check a dial gauge as recommended by the manufacturer and Extension. Determine your elevation and use the tested recipe’s altitude adjustment; do not guess from a neighboring town.
Follow the recipe without creative changes
Use the specified ingredient proportions, preparation, pack, acidification, headspace, and jar size. Tomatoes are not reliably acidic enough to improvise: follow the required acidification even when a process uses pressure. Do not turn our ordinary dinner recipes into shelf-stable jars.
Process and cool exactly as directed
Follow the complete tested directions for heating, venting when required, timing, pressure or boil maintenance, and cooling. Do not shorten processing, force-cool a pressure canner, invert jars to seal them, or use oven, dishwasher, or open-kettle methods as replacements.
Check seals and store appropriately
After the specified cooling period, inspect seals and follow the source’s directions for any unsealed jar. Label the date and contents and store as directed. A sealed lid alone does not prove a jar was processed safely. Never taste suspicious food to check it; consult official disposal guidance.
Try one little thing.
Before buying equipment, open one tested recipe below and write down its exact jar size, method, altitude adjustment, and processing instructions. Do not process food from a summary.
Choose a printable for the adventure →