
Decorated sugar cookies, from blank cookie to little masterpiece
Make a small, cheerful set with one shape, a few colors, and room for personality.
Plan a decorating session plus drying time
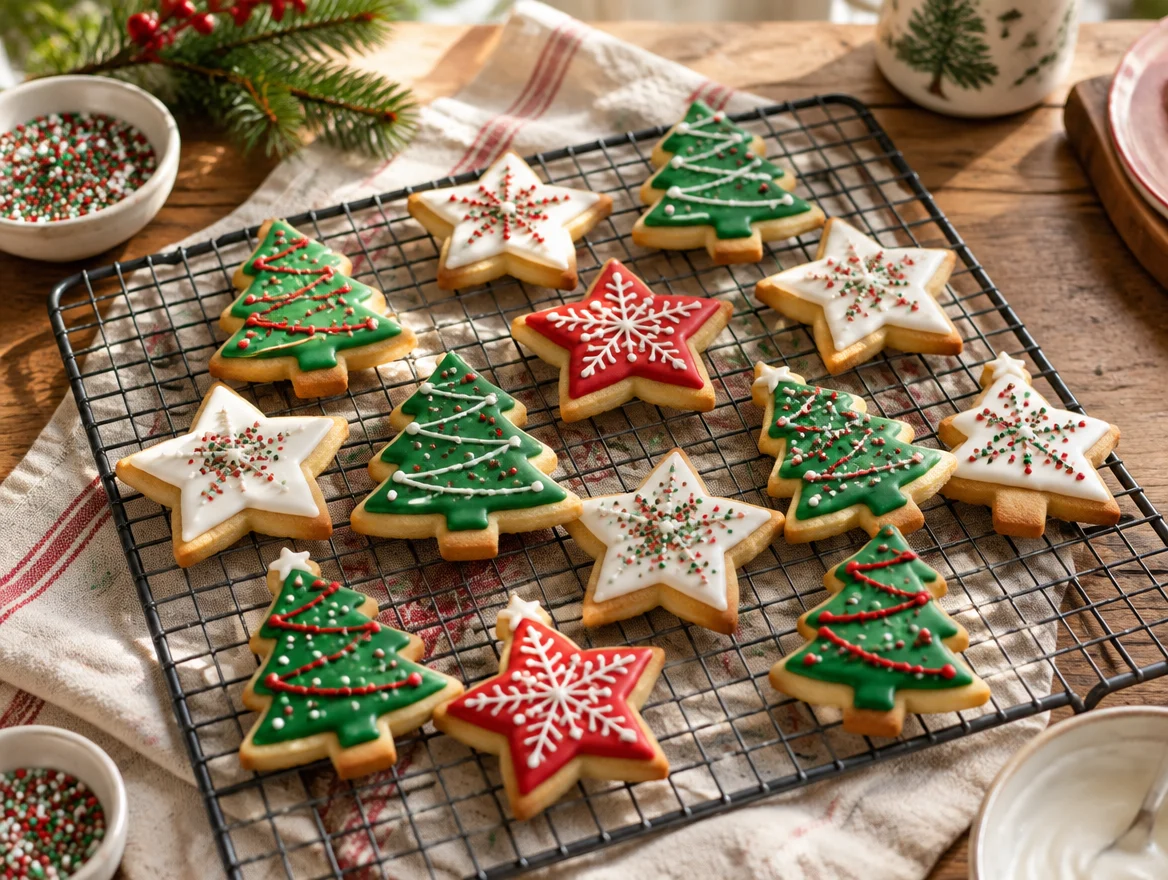
Fully baked and completely cooled sugar cookies, food-safe icing, piping bags, small round tips or snipped bags, gel food color, a tray, and a clean workspace.
Bake a consistent little canvas
Use the holiday cutout sugar-cookie recipe. Roll dough to a consistent thickness, group similar sizes on a tray, and cool completely. Raw dough stays with the adult. Warm cookies melt or disturb icing.
Choose the design before the colors
Pick one shape and three colors. Draw a quick idea on the printable cookie-design sheet: a star with dots, a tree with a zigzag, or a heart with a border. Starting simply leaves more time to enjoy the decorating.
Choose the right finish
Soft buttercream is friendly for same-day cookies served flat. Royal icing is useful for a smoother, harder-drying finish. Use a meringue-powder product intended for royal icing and follow its recipe; do not substitute raw egg whites. Check egg and other allergens.
Practice on parchment
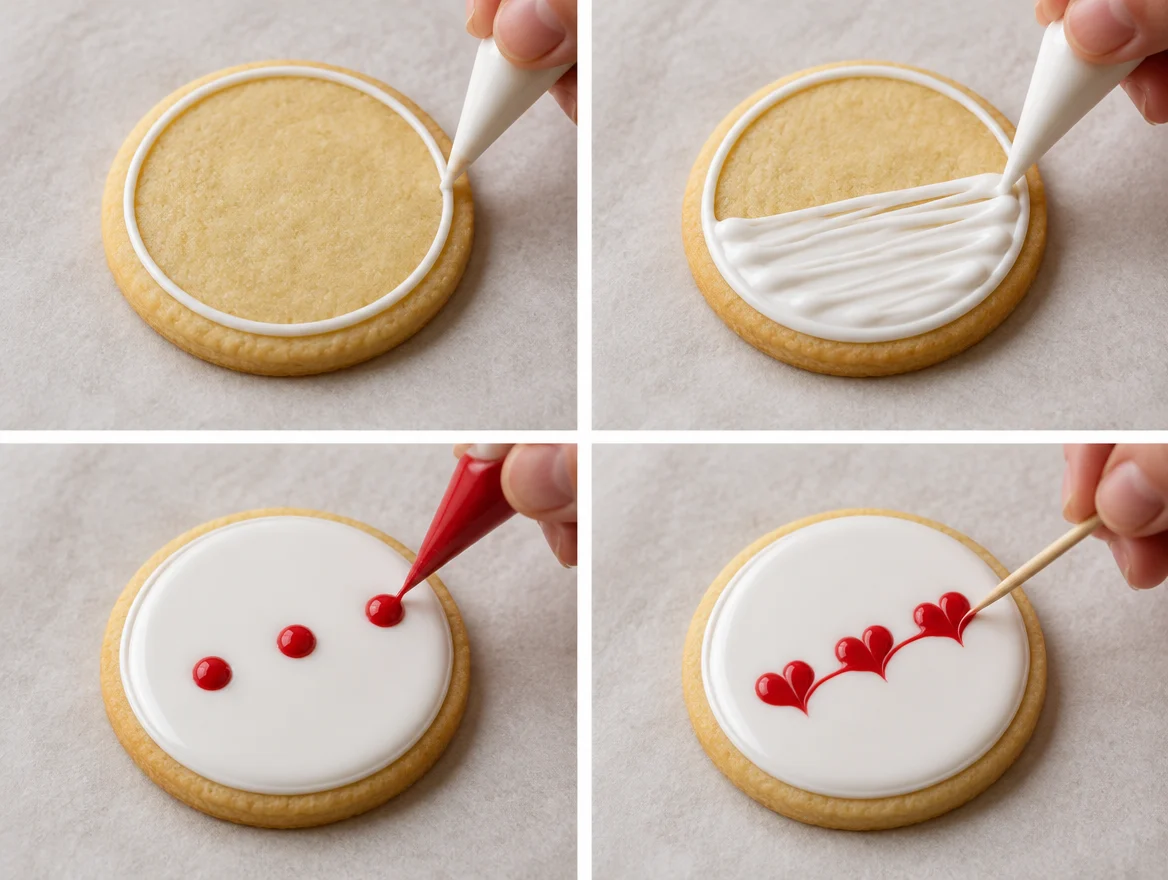
Fill bags only partway, twist the top, and practice dots and lines on parchment. Squeeze to start, stop pressure before lifting, and keep the tip close enough to control the line. Children can practice on cooled cookies with adult help.
Decorate in layers
For a simple cookie, pipe a border and a few dots. For a flat filled surface, use the separate flooding lesson. Let wet areas set before adding raised details unless you deliberately want a wet-on-wet pattern.
Dry, label, and share
Dry according to the icing recipe and your room conditions; a dry surface can still hide a soft layer underneath. Test one cookie before stacking or bagging. Label ingredients and allergens for gifts, and use food-safe packaging.
Try one little thing.
Decorate three cookies: one with dots, one with lines, and one with your very own silly idea.
Choose a printable for the adventure →